Lead Pages is a subscription service that allows you to build landing pages for products and services using a visual editor. It also incorporates best practices for landing page construction so you don’t have to think about what needs to go where to get good books sales.
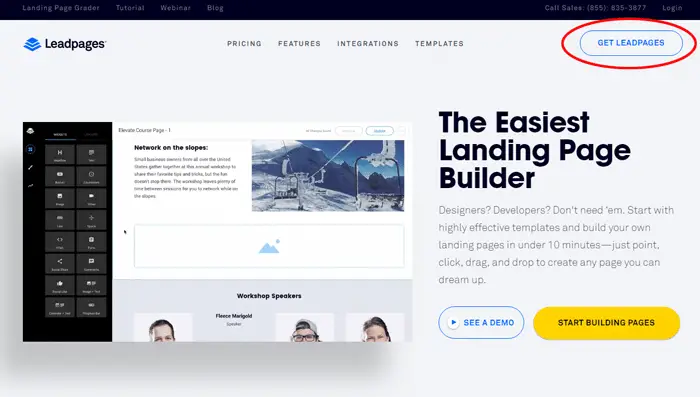
A basic plan 25 dollar per month plan that will work just fine (note that it must be paid annually). Start by visiting Leadpages.net and clicking on the ‘Get LeadPages’ button in the top right hand corner of the home page.
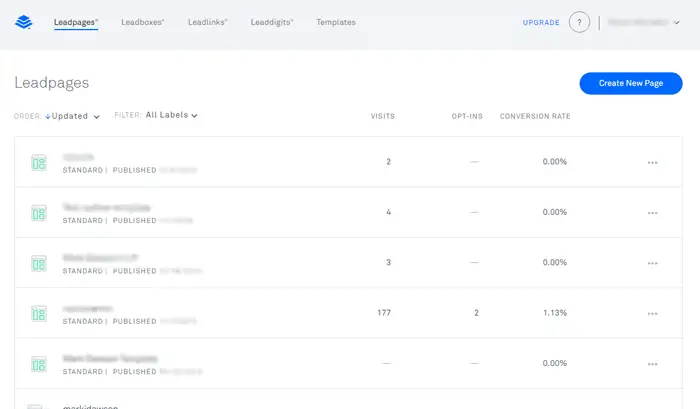
Go through the simple signup process to set up an account. Once you are finished, log back into your account and you should see a screen like the one below. Ours has a lot of pages in it already but yours will be empty.
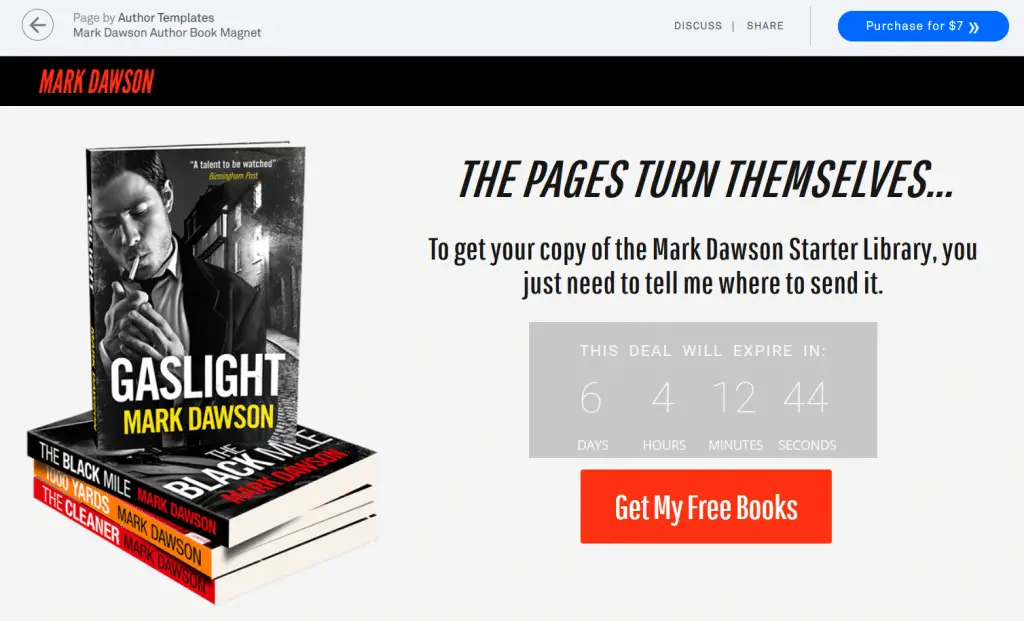
The first step is to choose a template for your list generation campaign. Leadpages has a lot of templates and we’ve developed one specifically for authors promoting their title. You can download it at the link below:
Author Template
To purchase and use the template, click the blue button in the top right hand corner of the page.
Confirm you purchase and you will then have access to start changing the details of the template to be your own.
Configuring Your Author Template
To start configuring your author template, go to the ‘Purchased’ area of your account.
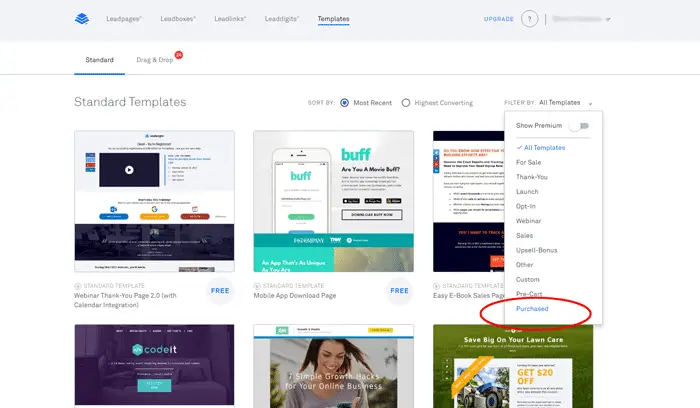
Click on the Author Marketing template that you purchased above. You’ll see a brief popup asking you about your industry (which you can skip) and then you will be taken to the area where you can customize your template.
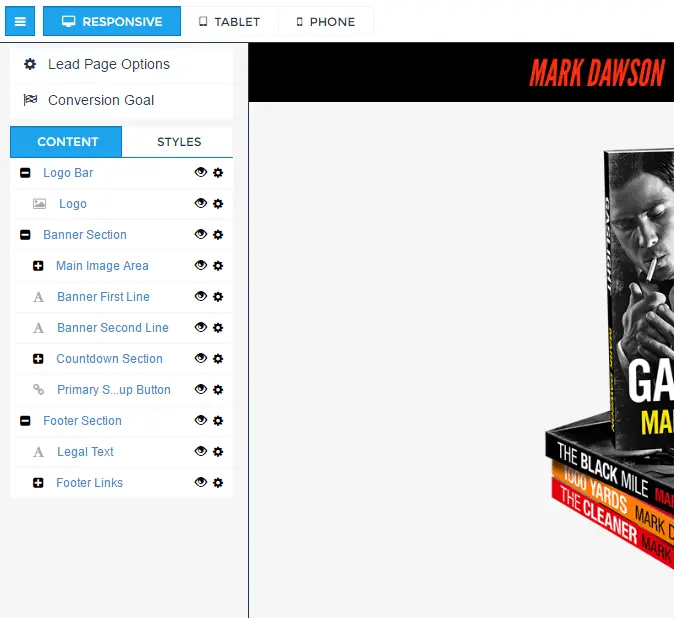
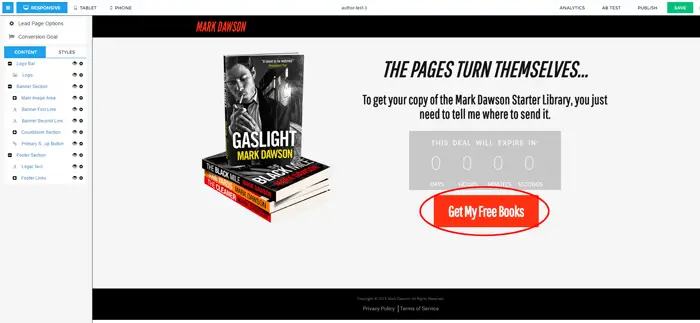
The interface of Lead Pages is extremely easy to use. You can customize the images, text, colors and elements of the Author Template to your liking. Use the left menu to choose different color options and modify other parts of the template.
Note that to save your changes you will have to name your page. You can always change it later but it must have a name in order to save it. You will also have to integrate your page with an email marketing service that you configured earlier.
Integrating Your Email Service
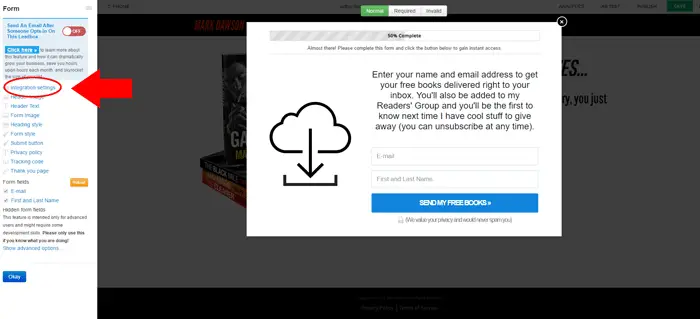
You will have to integrate your email service before you can save your page. To do that, simply click on the call to action button in the page. By default it is named ‘Get My Free Books’.
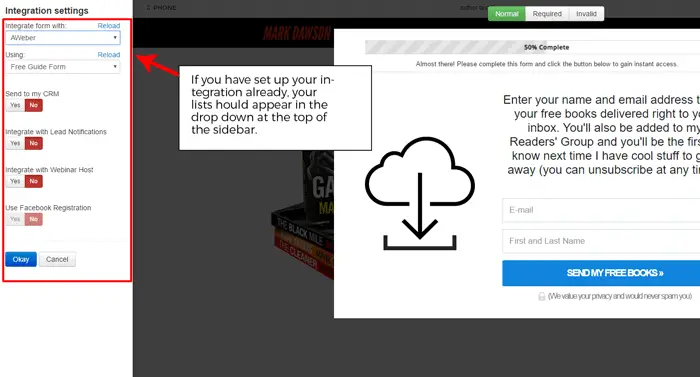
You’ll notice the left sidebar has changed to include options for integrating your email service (we used Aweber earlier). Simply choose Aweber from the list and then choose the form that you would like to use. These will have to be created before you can integrate. If you haven’t yet created a form, you can always just open another tab, visit Aweber and quicky create your form for integration. If you go that route, click the reload link above the drop downs in the Leadpages/Email service provider integration settings in Leadpages.
Once you have your integration done, click the save button in the top right hand corner of the page.
Installing Your Page on WordPress
Leadpages makes a plugin that integrates with WordPress. Once you are all done saving your work, just click the publish button next to the save button in the editor. A popup will appear asking you how you would like the page to be published.
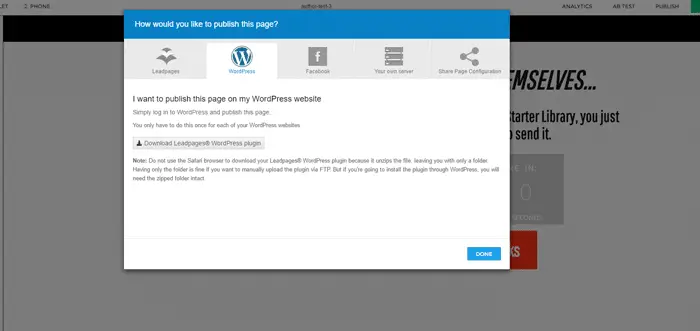
The download will come through as a zip file and this will need to be installed in your WordPress site however you will install it a little differently than outlined in the WordPress walk-through section of our previous post. Make note of where the zip file is on your computer and then visit your WordPress site administrative area.
Click on plugins and then click add new.
Click plugins in the right sidebar -> add new at the top of page -> then click the upload plugin. You will then see the following screen.
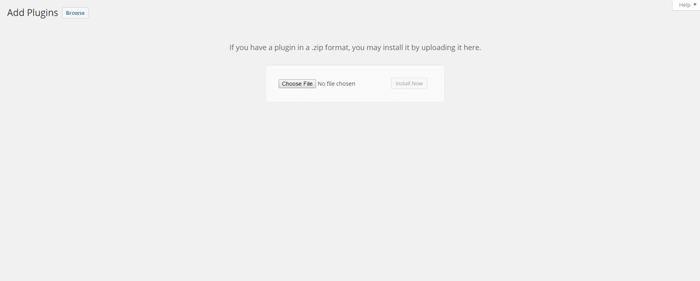
Click choose file and then look for the zip file that you downloaded. Click install now and then the process is just like if you were to install a plugin from within WordPress. Once everything is done, you will see a Leadpages menu item in the sidebar of your WordPress admin area.
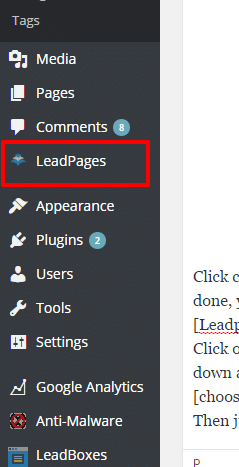
Click on it and then click ‘add new’ at the top of the page. From here you should see a drop down containing the Lead Page or Pages you created. Pick the page you want to display from the drop down and then you can enter your custom URL for the page. Make it something descriptive so users who look at that know they have come to the right place.
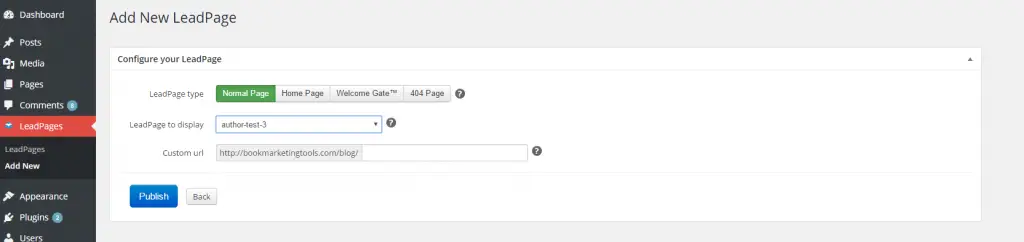
Then just click the publish button. Visit the page to make sure it’s working and you may also want to do a test submission to make sure your email series is working.
