
We talked about adding free themes from WordPress, finding themes online and the basic instructions for unpacking them. Now we will do a walkthrough of an actual author theme from start to finish. Novelty is a great child theme built for use with the Genesis framework. You can purchase both the Novelty child theme and Genesis for about $110.
Download Genesis
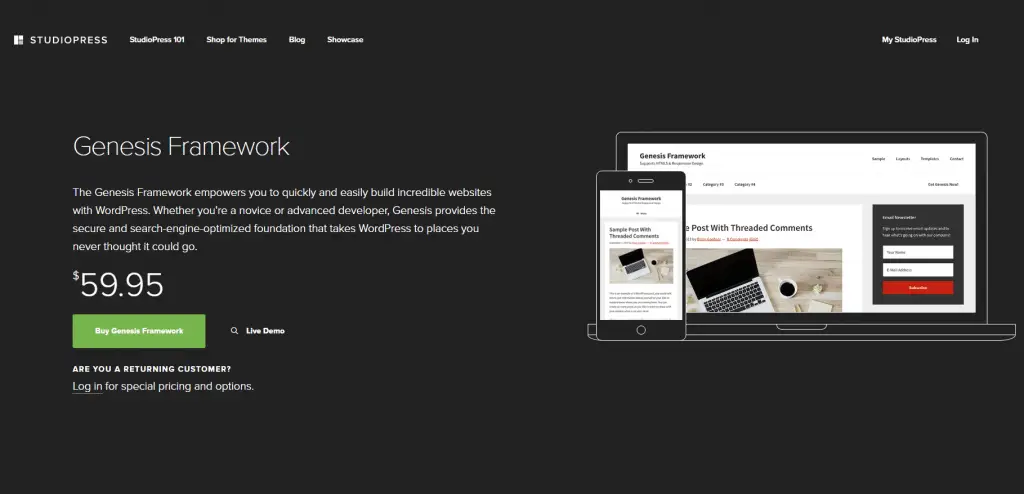
The Novelty theme is a child theme meaning it runs on top of the Genesis Framework. In order to use Novelty, you have to first install Genesis which can be purchased for 60 dollars. Here are some of the benefits for using Genesis.
- Genesis is a well-built, well-supported and stable theme foundation (you aren’t going to have problems with it and if you do, there will be someone to respond to your questions)
- Update without losing customizations. Many low-quality or free themes may lose any customizations made to them when they get updated. Not so with Genesis and child themes that go with it.
- Inexpensive: Compared to how well-built and supported it is, Genesis is a steal in terms of WP themes.
- Tons of features and dedicated plugins: There are built in SEO settings, Genesis-specific plugins, and other built in features that eliminate the need for having a lot of other plugins installed.
To download Genesis go to studiopress.com and click the Buy Genesis Framework button. Go through the checkout process and you’ll be able to download the Framework just like you would any other WordPress theme. It goes into your downloads folder and you can just leave it there while you go and download Novelty. Regardless of where you put it to begin with, make sure you save a copy! It’s always a good idea to save all of your theme files somewhere in case you need them again.
Installing Genesis
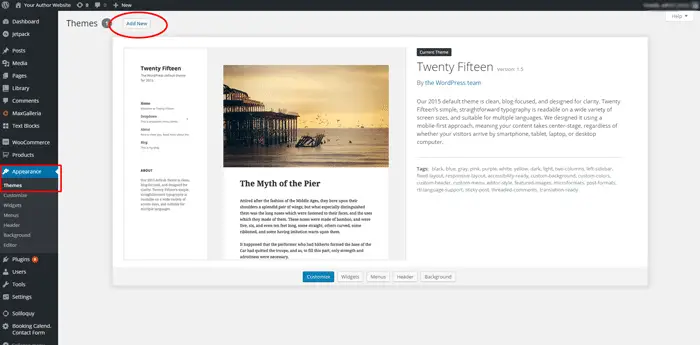
Genesis is installed just like any other WordPress theme. Log into your website’s admin area and go to Appearance > Themes and then click “Add New”.
Find the Genesis file you downloaded earlier and upload it to your WordPress site. Make sure that it is still a zip file when it is uploaded.
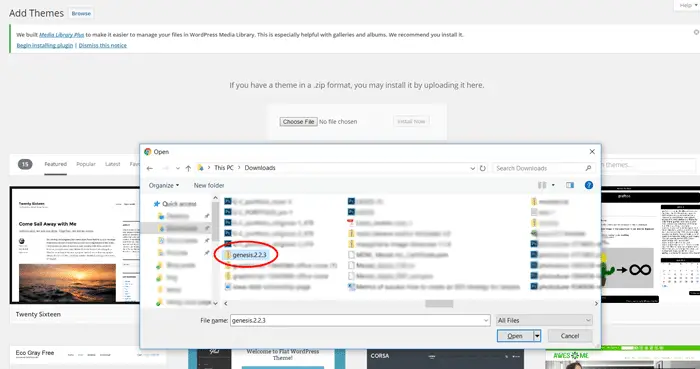
Open the file and click the upload button. Wait a few seconds and then you should see that the framework has successfully installed.
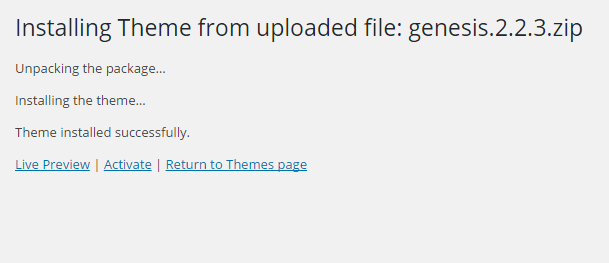
If you are setting up a new site that no one will see for a little while, you can activate Genesis at this point. If you already have a live site, hold off on activation until you are ready to start working on your site. If you do activate right away, you’ll see the default theme provided by Genesis.
Download Novelty WordPress Child Theme
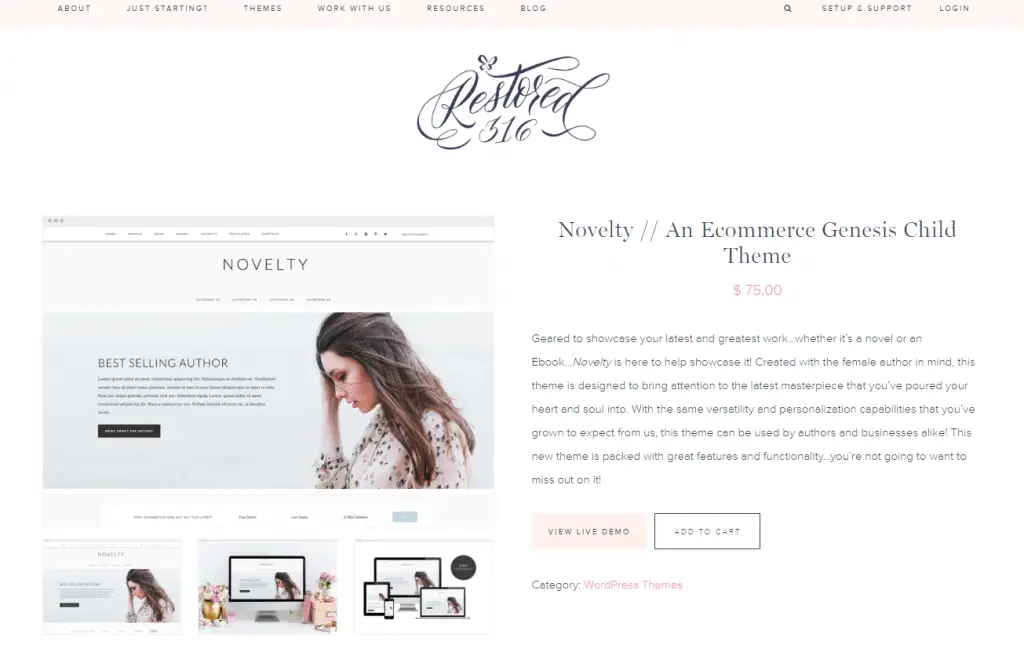
Novelty is a child theme for Genesis. It runs on the Genesis framework but is essentially a different theme that can be customized to your needs. You can download Novelty from Restored 316 Designs for 75 dollars. Click the Novelty theme and then go through the eCommerce process to purchase. You’ll be taken through Paypal but you can use a credit card if you want. Keep in mind that the demo version of the site is customized a certain way and once you have the theme installed, you’ll be able to customize it any way you need to.
Once you’re finished, you’ll be prompted to download your theme files. It will be in your downloads folder on your computer as a zip file which is fine.
Installing Novelty
You will follow the exact same process above for installing Novelty on your Website as you did for Genesis. Just go to Appearance > Themes and then click add new. The same set of steps will get Novelty installed on your site. Once installed, go ahead and activate the theme.
Configuring Novelty
Installing the Proper Plugins
When you first install Novelty it will look nothing like the demo site but the following walk through will help you do that. The best thing to do is get your site looking like the demo first and then go back and change the content to be yours (as opposed to figuring out how to get everything to look and function the way the demo does from scratch). In order to do that you have to import Novelty’s XML file that contains all of the sample widgets. Before you can do that successfully, there are some plugins that you need to download and install in order for the theme to function properly like the demo does.
- Genesis Enews extended: this is the plugin used for the subscribe and news letter areas of your author website.
- Simple Social Icons: helps display the social icons in the sidebar
- Jetpack for WordPress: has a function that allows for social sharing widgets to be placed at the bottom of blog posts (along with a lot of other useful customization features)
- Soliloquy Slider Lite: Used for the home page slider section
- Gensis Author Pro: Used to upload your books
- Instagram feed: used for the instagram section of the sidebar
- Genesis responsive slider: Used for the blog page slider
- Regenterate thumbnails: used to crop images to certain dimensions regardless of size
- Widget importer & exporter: used to import all the widgets from the demo and helps with first time setup
- Ninja forms: used for the contact form
Note that if there are any features you do not plan on using, you can skip the installation of a plugin that is relevant to that. For example if you are not going to use the instagram feed you can skip installing that plugin.
Importing Novelty Content and Settings
To make the Novelty theme look like the demo with all content and settings, work through the following steps:
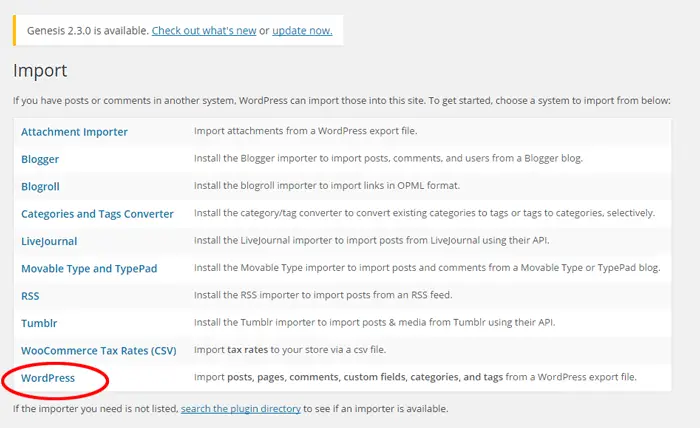
Go to Tools > Import in your WordPress admin area and click the WordPress option.
Choose the import file that you need.
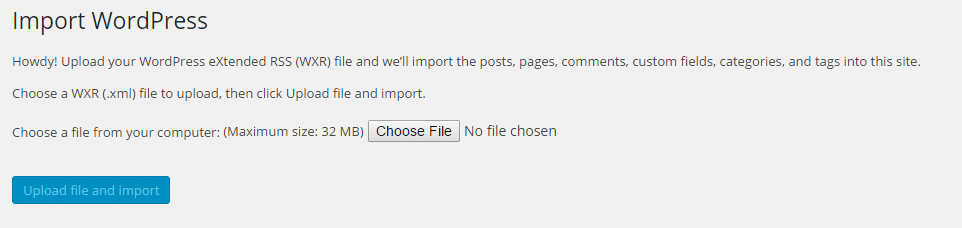
Navigate to the sample XML file that came with your Novelty theme. Note that this time you’ll need to extract your theme files in order to get to the XML file on your computer before you start this process. Once you click ‘choose file’ navigate on your computer to where Novelty is stored. You’ll find the sample file in novelty>restored316-novelty>xml>sample.xml.
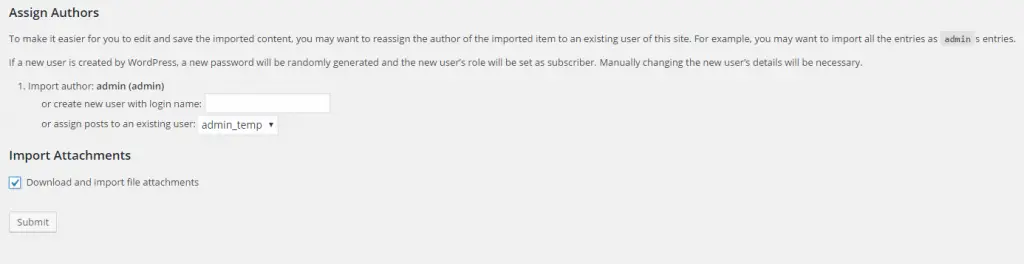
Once the file has been uploaded, assign an existing user to the post content or create a new user. Choose to download and import all file attachments.
Note that downloading and importing the XML file gets you most of the way there in terms of theme styling and setup. There is still a little bit of leg work to get your theme customized and you will also not see any of the demo images in the import. All of those are excluded and it is only the placeholder text that gets imported.
Setting Your Front Page
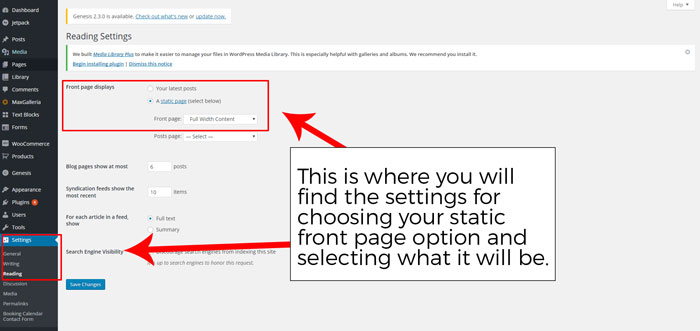
By default the theme will have most recent posts set as the front page. We need to change that so that you have a static front page and you can begin making the elements that will be on the home page of the site. Start by going to Settings > Reading in the left sidebar. In the first section, tic the radio button that says ‘a static front page’ and then choose the ‘Full Width Content’ option from the list of choices.
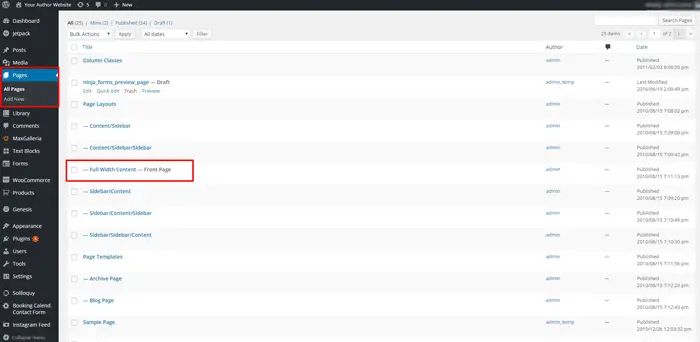
You can find this specific page in your list of existing pages that were imported in the XML document. It will be labeled ‘Front Page’.
Note that this page will have dummy content on it and it can be deleted when you add your home page slider in the next section.
Setting up Your Home Page Slider
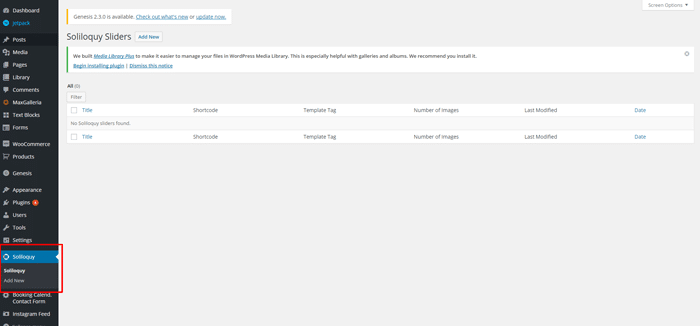
Let’s start by getting the home page to look like it does in the demo. Go to Soliloquy in the left sidebar.
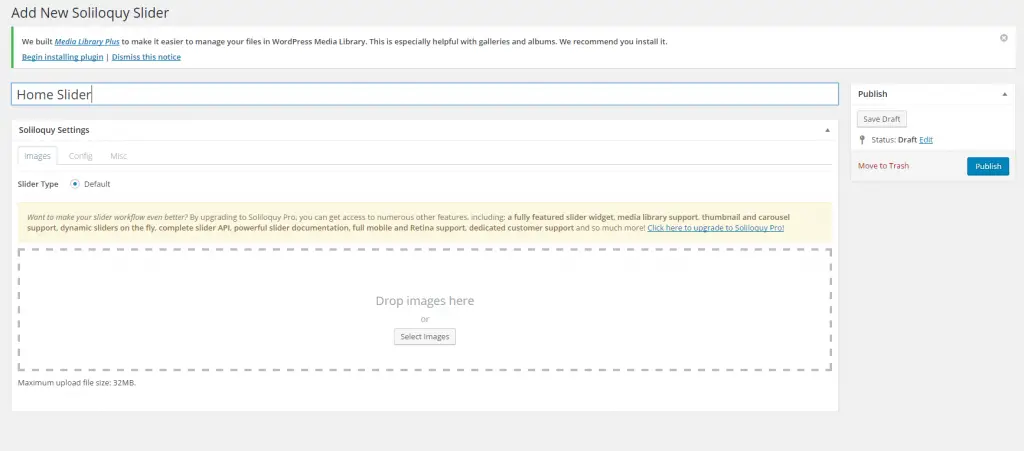
Click on the Add New button on the top of the screen to start adding a new slider. Name your slider something descriptive (usually after its location on the site). For example this one can be ‘Home Slider’. Then click on ‘Select Images’.
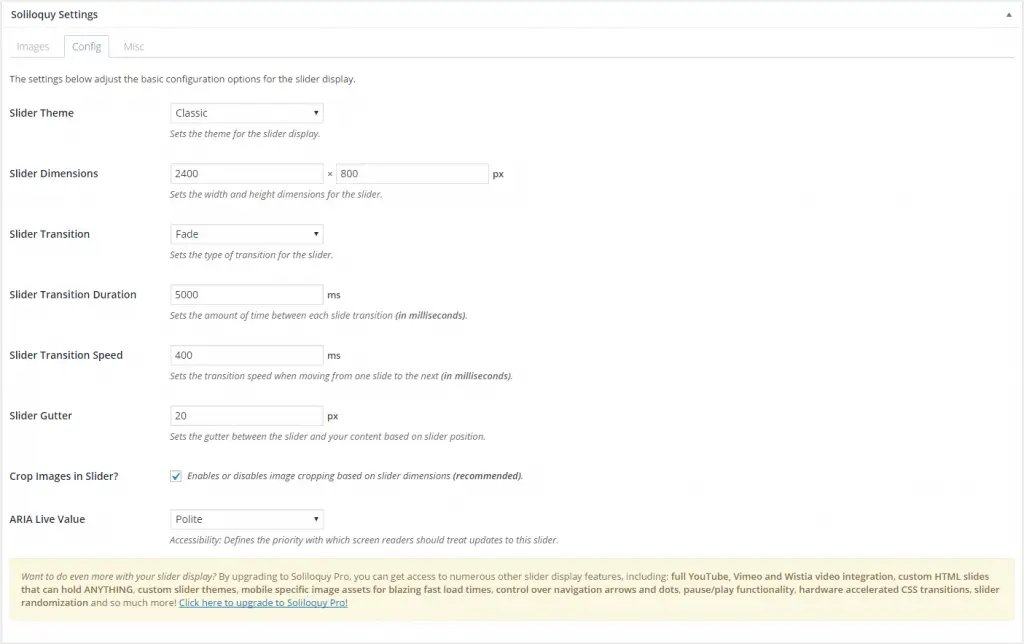
You will then be able to either choose from among images already on your site or upload new ones. For the home slider, your images will need be at least 2400px wide by 800px tall however save them at a lower ratio (for example 1000px by 333px) or as a different format. You can also compress them before uploading. It can be smaller however adding a smaller image will make it look grainy and stretched. Add as many images as you like (but remember the social science behind sliders). On the configuration tab, make all of the settings like the screenshot below.
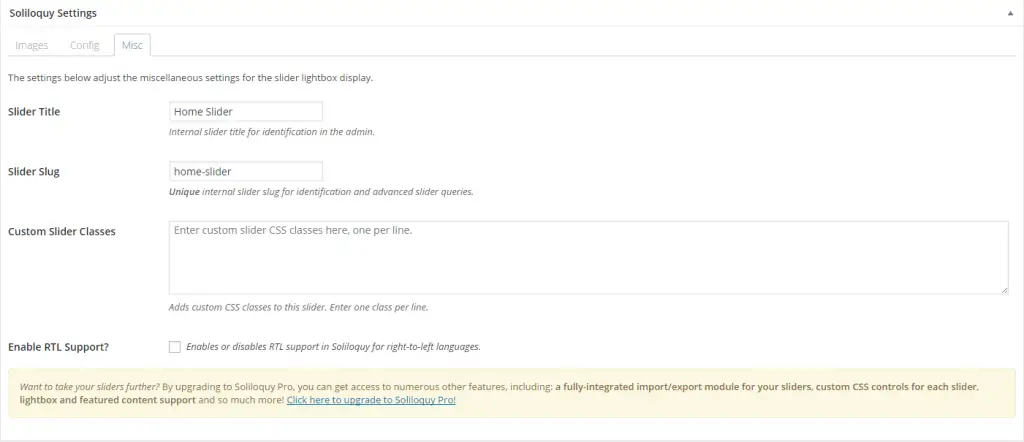
In the miscellaneous settings name the slider and give it a slug like so.
Once you are done click publish on the right column. Soliloquy will then give you a short code that can be pasted onto the front page of your site (remember in an earlier step when you selected which page this was).
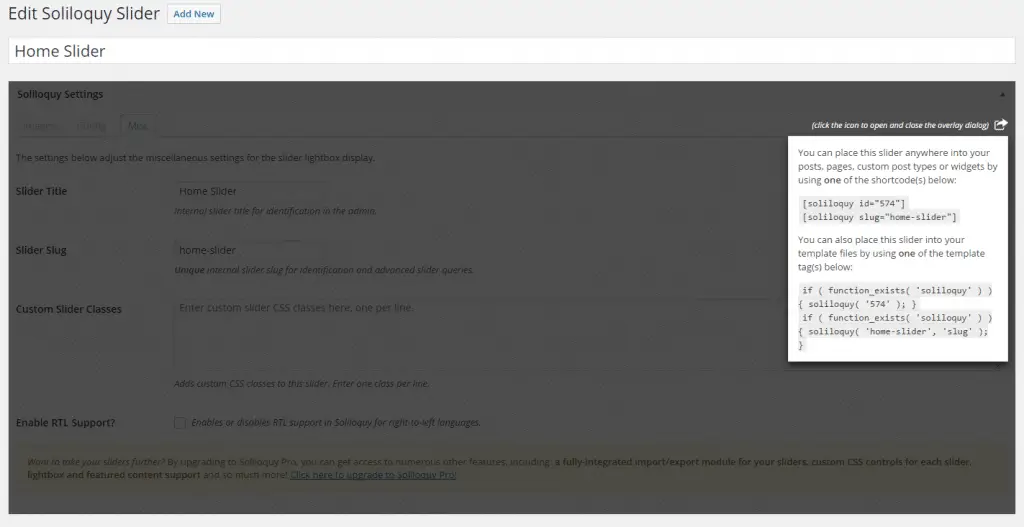
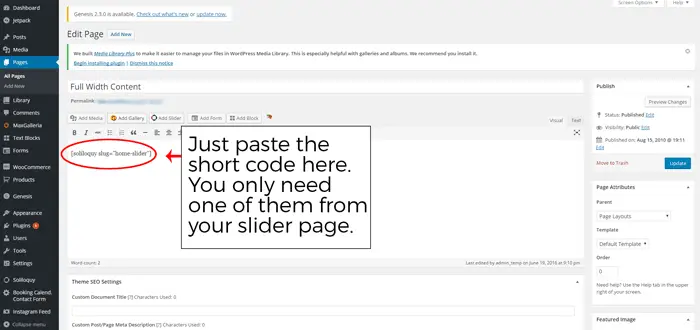
Note that there are a couple methods for displaying your slider. You can do it with the PHP code provided on the bottom or you can use one of the two short codes. The short code route will be easiest for most authors doing this but the PHP is available if you need it. Paste the short code into the editor on your selected front page.
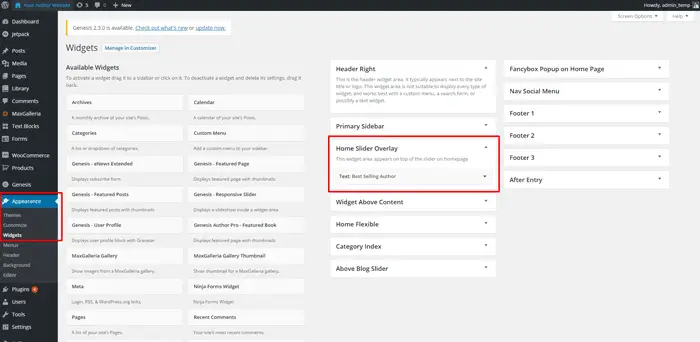
Your home page should now look similar to this (with your banner image under the site title). Note that the text overlay is controlled in Appearance > widgets in the Home Slider Overlay widget area (we’ll show you how to edit that next).

Editing the Home Slider Overlay
You can edit the text, button and header on the home page text. Go to Appearance > Widgets and you will see all of the available widget areas for Novelty theme. Click the down arrow button on the existing widget and you will see the text that makes up that widget area.
Adding Your Main Menu Items
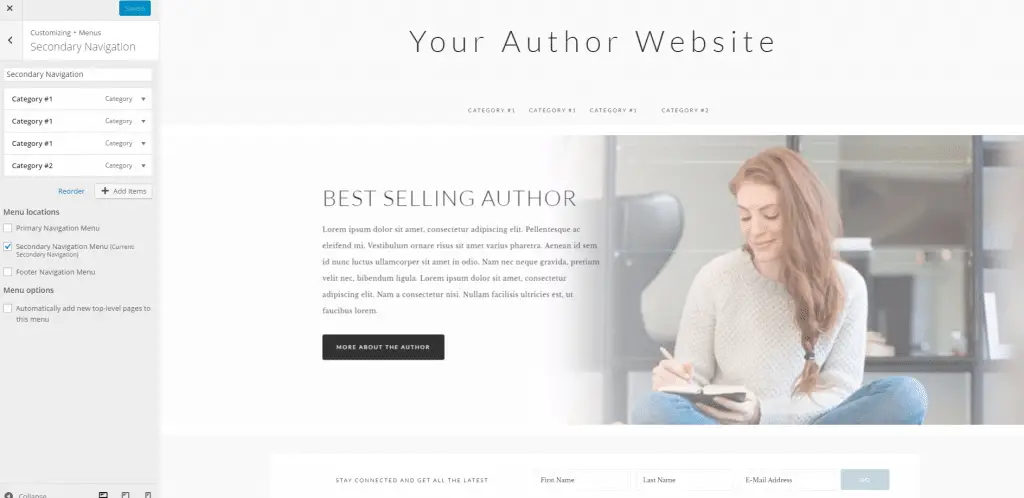
There are three menu locations with Novelty and on the home the secondary navigation position is right underneath the home page tag line or logo. In order to set that up, you’ll have to first configure your menu and then add the menu to the secondary nav location in the customization settings.
Configuring your menu
The primary, secondary and footer naves should already be populated with pages from your XML import. You will have to delete some of the menu items in the secondary nav so that you will have some space in the header (and the average author is not going to have that many pages). Go to Appearance > Menus and select the secondary nav from the drop down menu.
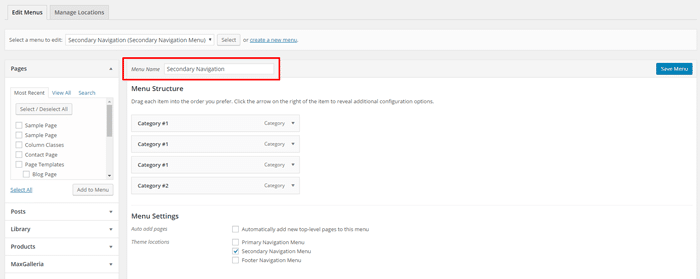
You will notice that there are some numbered sample navigation items at the top of the list and then a dozen or so other menu items. Most of those can be deleted. Once you have your menu items named how you would like, you can go to Appearance > Customize > Menus and then set the secondary nav position to be the secondary navigation.
Note that you can find those pages in the Pages section of WordPress and configure and rename them.
In our next post we will do a walk through of setting up your shopping area and putting books on your home page as well as other features of Novelty.